
Database Backup
-
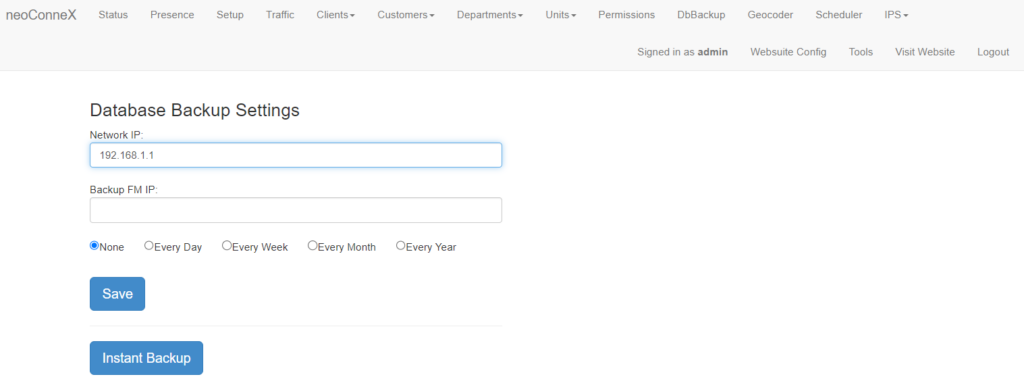
To access the page, along the top navigation go to DbBackup.
-
Network IP – This is the IP address of another PC on your network to back up to.
Backup FM IP – IP address of the secondary Fleet Manager to write the backup to.
-
Choose an interval for the backup to run. If you do not wish for a recurring interval, choose None.
Press Save when you have entered your settings.
-
Instant Backup – Run a back up immediately using the current configuration.
-
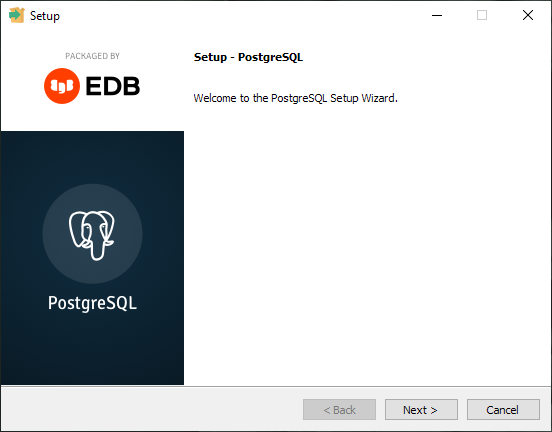
Download and run the PostgreSQL installer for your platform. The Setup wizard will walk you through installation.
-
Click Next.
To use a separate Windows PC for the Fleet Manager backup, you must install PostgreSQL. The following will guide you through installation on a Windows PC.

-
Specify the directory where you wish to install PostgreSQL.
-
Click Next.
-
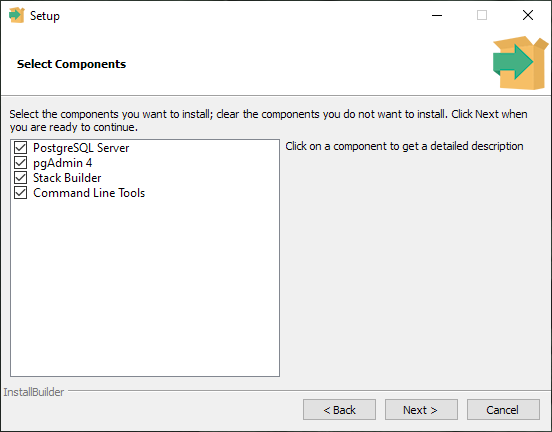
Ensure PostgreSQL Server, pgAdmin, Stack Builder, and Command Line Tools are checked.
-
Click Next.

-
Specify the location in which to store your data files.
-
Click Next.
-
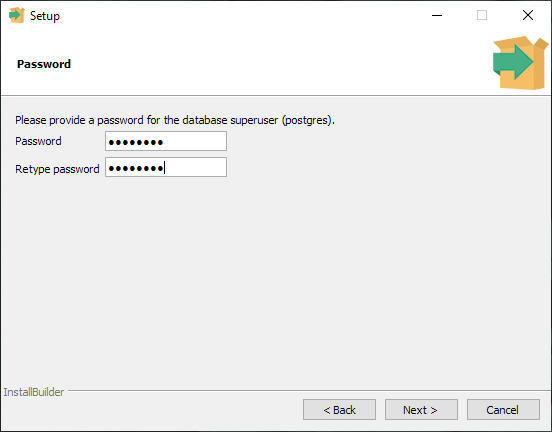
When asked to provide a password for the database superuser (postgres) enter postgres in both boxes.
Note that if you do not specify a password of postgres the database backup will not work.
-
Click Next.
-
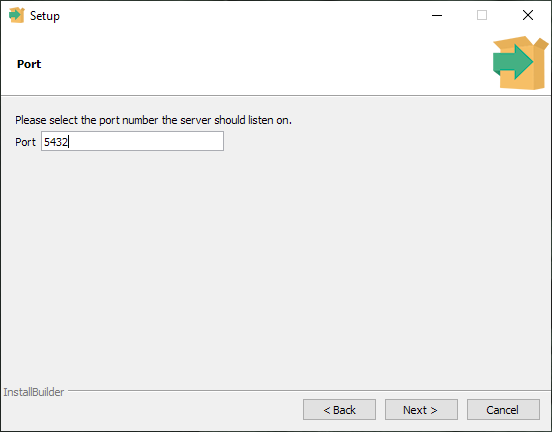
Ensure port number 5432 is entered.
-
Click Next.
-
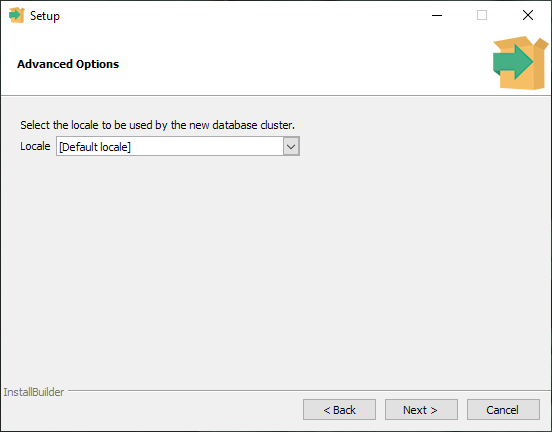
Select Default Locale.
-
Click Next.
-
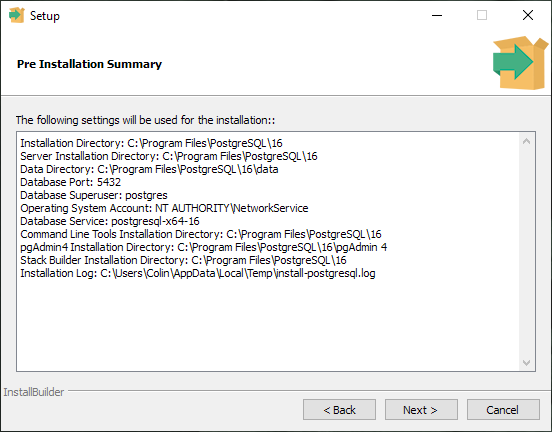
The Pre Installation summary will show your installation settings.
-
Click Next.
-
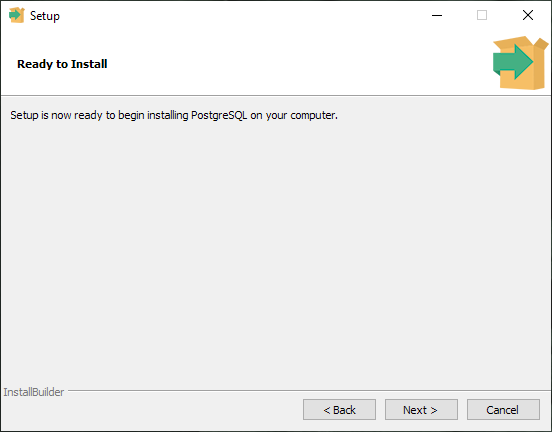
When ready to install, click Next and wait for the installation to complete.
-
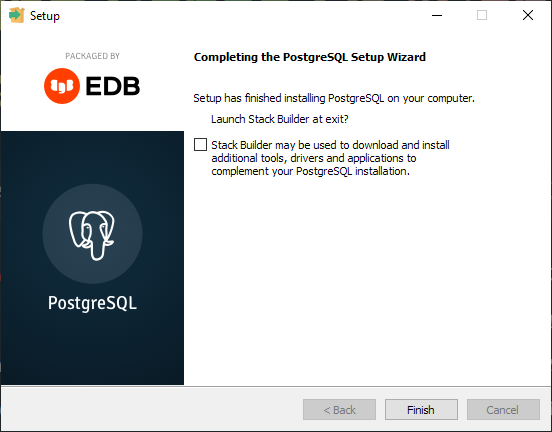
Once the install is completed, uncheck Launch Stack Builder at exit.
-
Click Finish.
-
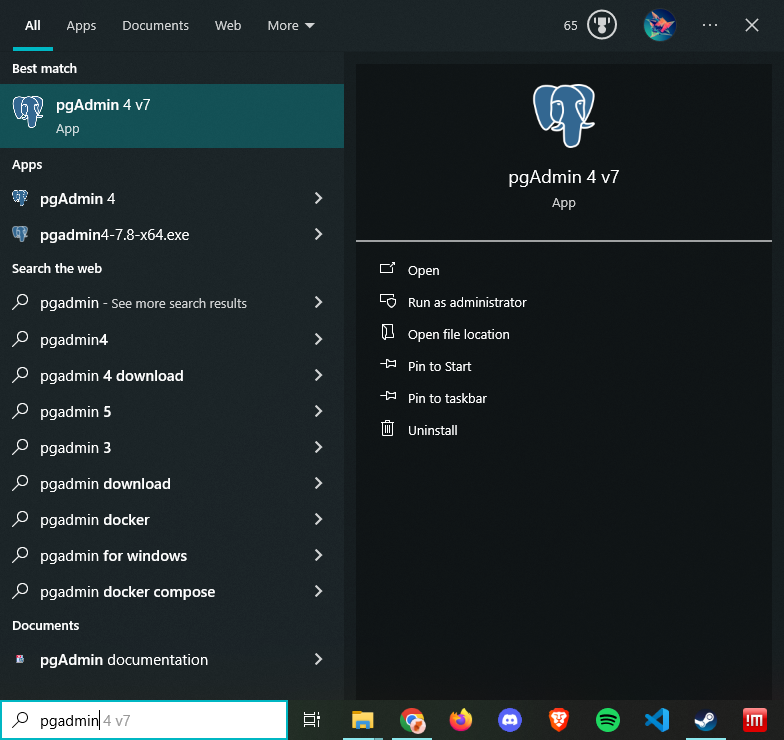
From the Start Menu begin searching for pgAdmin and open the application.
Once PostgreSQL is installed you will need to connect to the database to finish set up. On the PC you installed PostgreSQL, open pgAdmin.
-
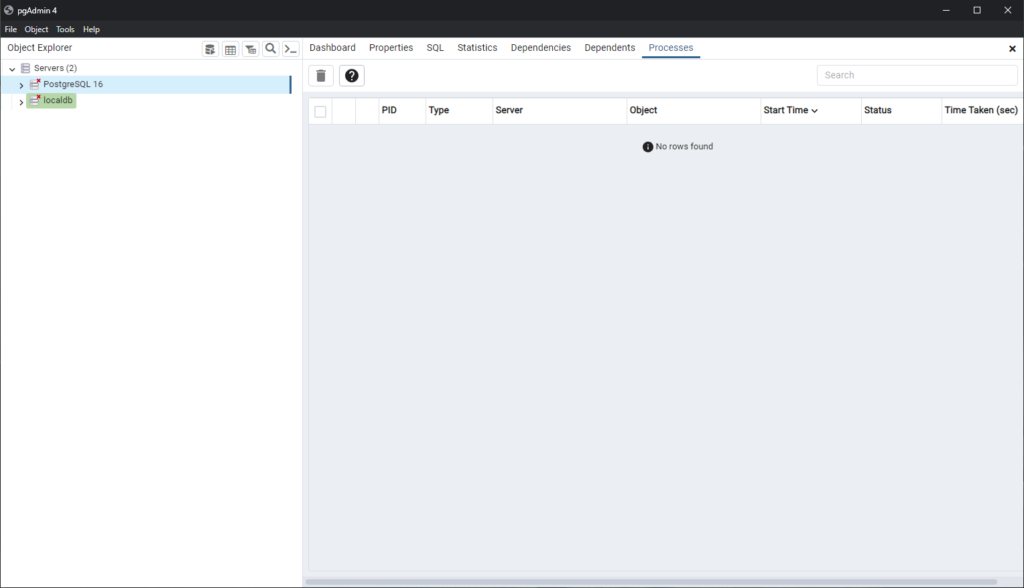
If you expand Servers you should see a server named PostgreSQL.
If prompted for a password, enter postgres and continue.
-
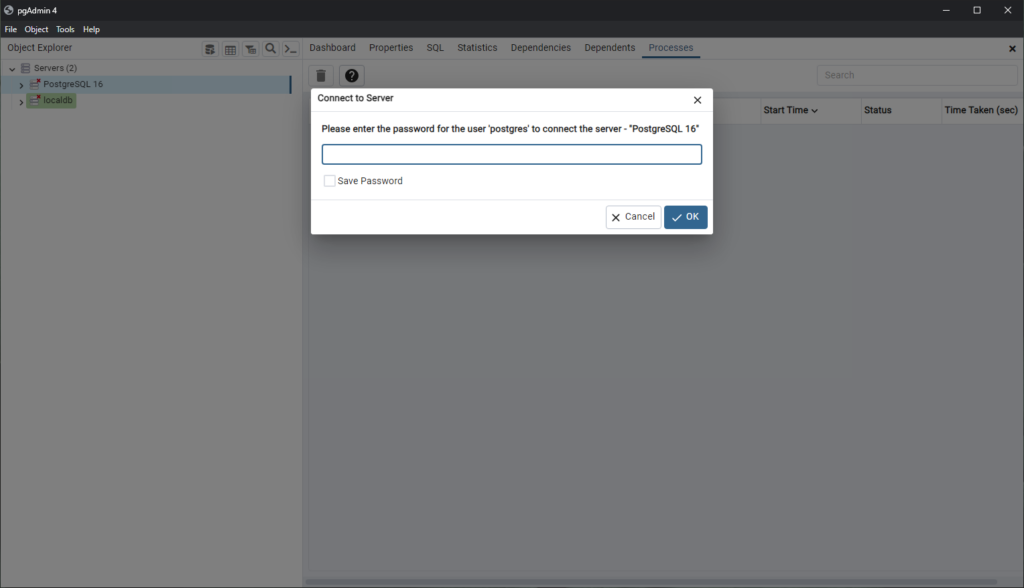
Right-click on the server named PostgreSQL and choose Connect to Server.
-
If prompted for a password, enter postgres and press OK.
You must connect to a server before you can modify it.
-
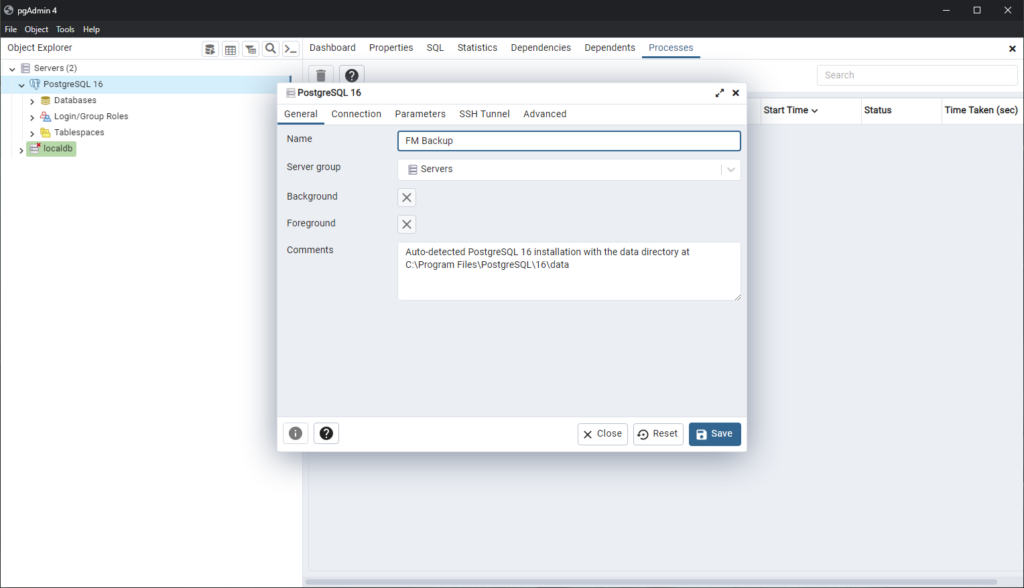
Once connected, right-click on the server named PostgreSQL and choose Properties.
-
On the General tab, provide a name.
-
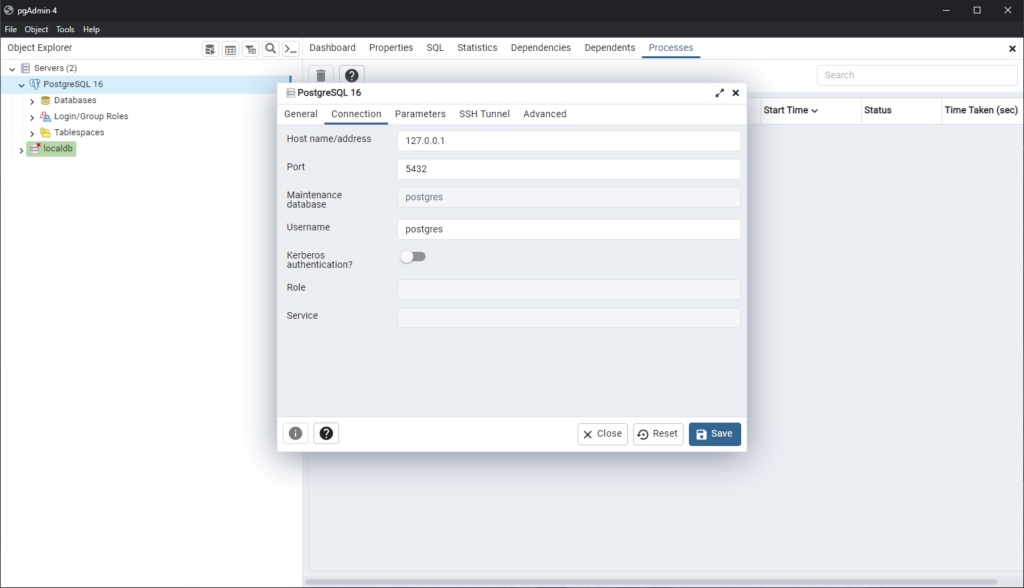
Choose the Connection tab.
-
Ensure the following values are set:
Host name/address – 127.0.0.1
Port – 5432
Maintenance Database – postgres
Username – postgres
-
Press Save.

-
In Windows File Explorer locate the pg_hba.conf file. This will be located in the data directory chosen during installation. In the example case, this is: C:\Program Files\PostgreSQL\16\data
-
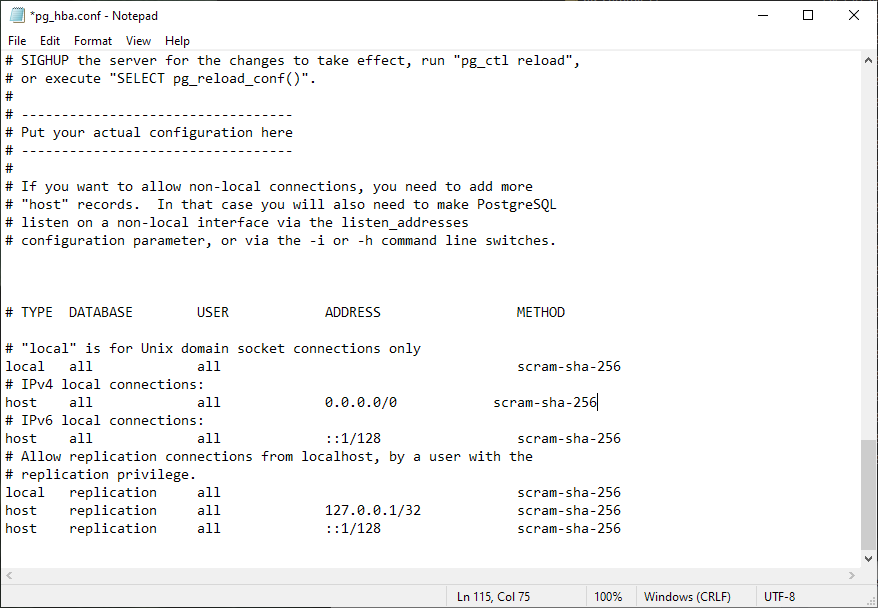
Open the pg_hba.conf file in notepad or another text editor.
By default, PostgreSQL will only allow connections from itself. This must be changed in order for the FleetManager Database backup to function properly.
-
In your text editor, scroll to the bottom and locate the IPv4 local connections option. Modify the IP address from 127.0.0.1/32 to 0.0.0.0/0
-
Choose File > Save.