
Programming a Repeater – Conventional
-
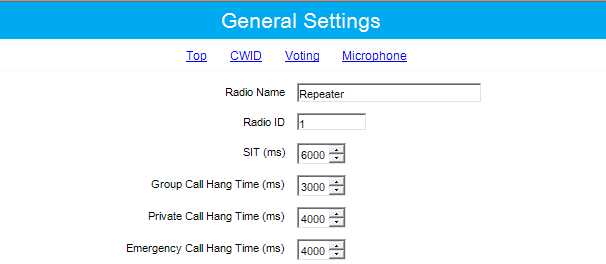
Set a Radio Name for your repeater.
-
Set a Radio ID for your repeater. This must be unique.
From the left navigation bar, choose General Settings.
-
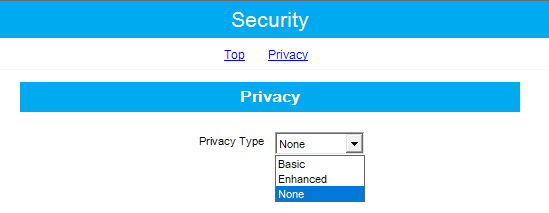
Select the Privacy Type. All radios on your system must have the same privacy type.
Select Security from the left menu.
-
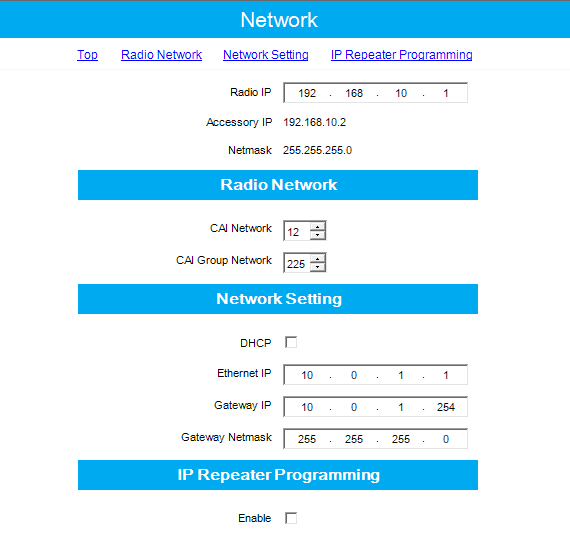
Set a Radio IP. This is used for programming.
-
Under Network Setting enter your IP configuration (used for IP communication).
Select Network from the left navigation menu.
-
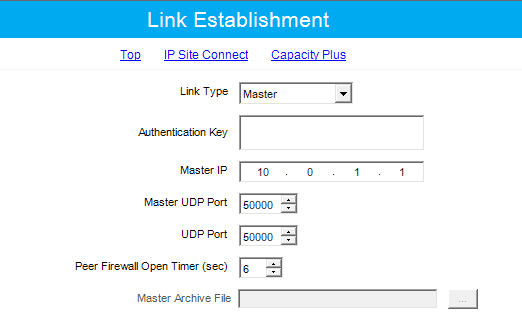
Ensure Link Type is set to Master.
-
Ensure the Master IP is set to the same as the IP specified under Network.
-
Specify your desired Master UDP Port and UDP Port.
In the left menu, navigate to Link Establishment.
-
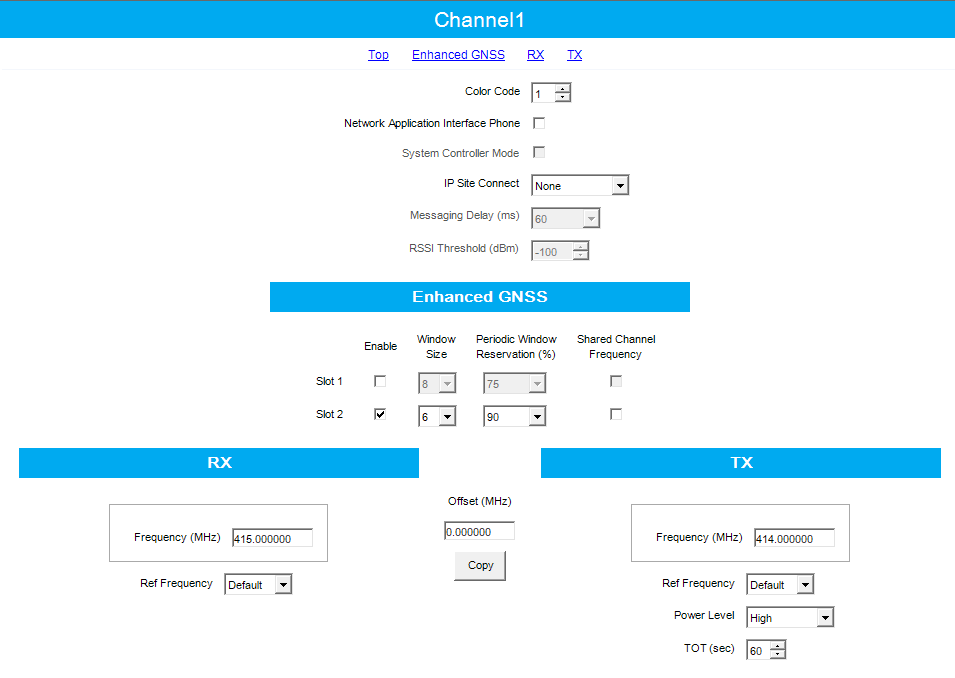
Set your Color Code.
-
Set IP Site Connect to None.
-
If you have Enhanced GPS purchased, ensure it is only enabled on Slot 2 with reservation percentage of 90. Window size is based on your security setting:
- None: Window = 6
- Basic: Window = 7
- Enhanced: Window = 8
If using CSBK Data, set the window size to 1 or 2.
-
Set your RX and TX frequencies.
From the left navigation menu, choose Channels.