
Adding, Editing or Removing a Geofence
-
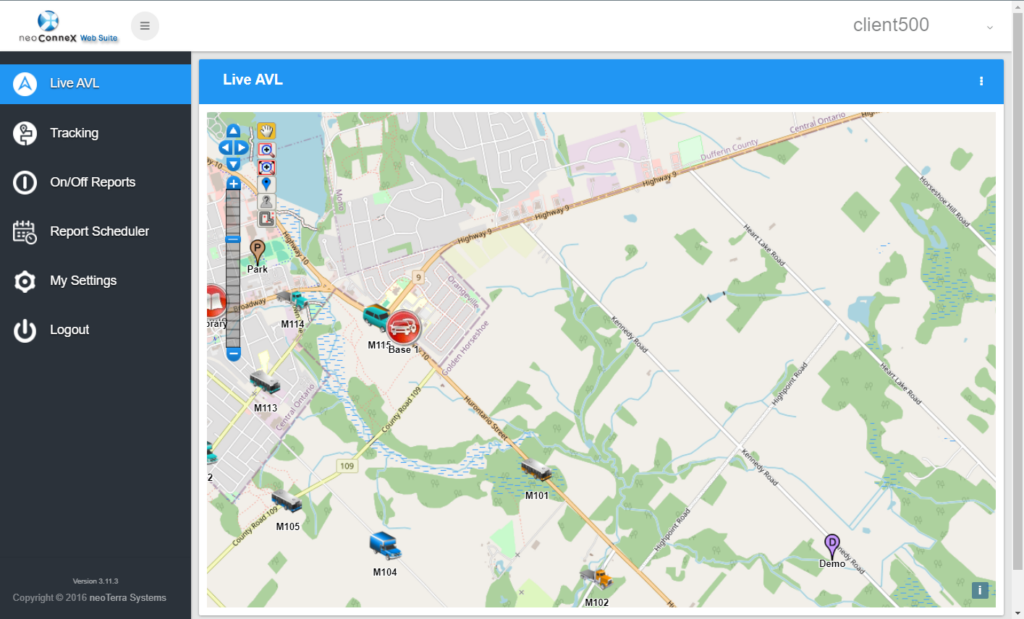
While logged into the websuite, choose Live AVL from the left navigation bar. This is the default tab when entering the websuite.
Geofences can be added on a per-user basis. They are added in the websuite Live AVL view.
-
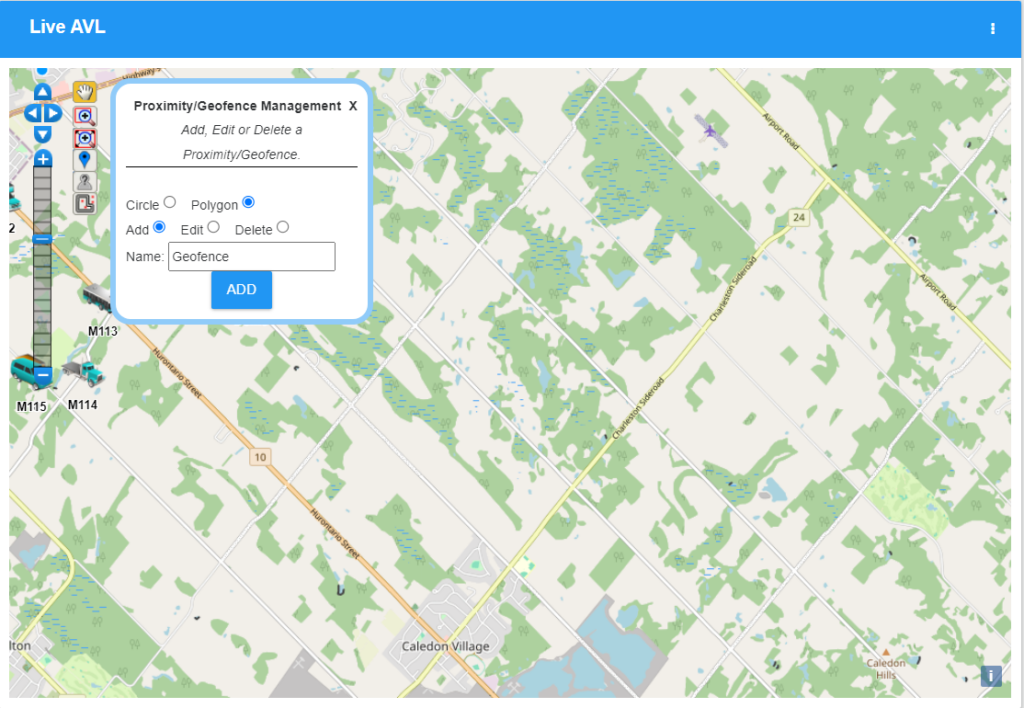
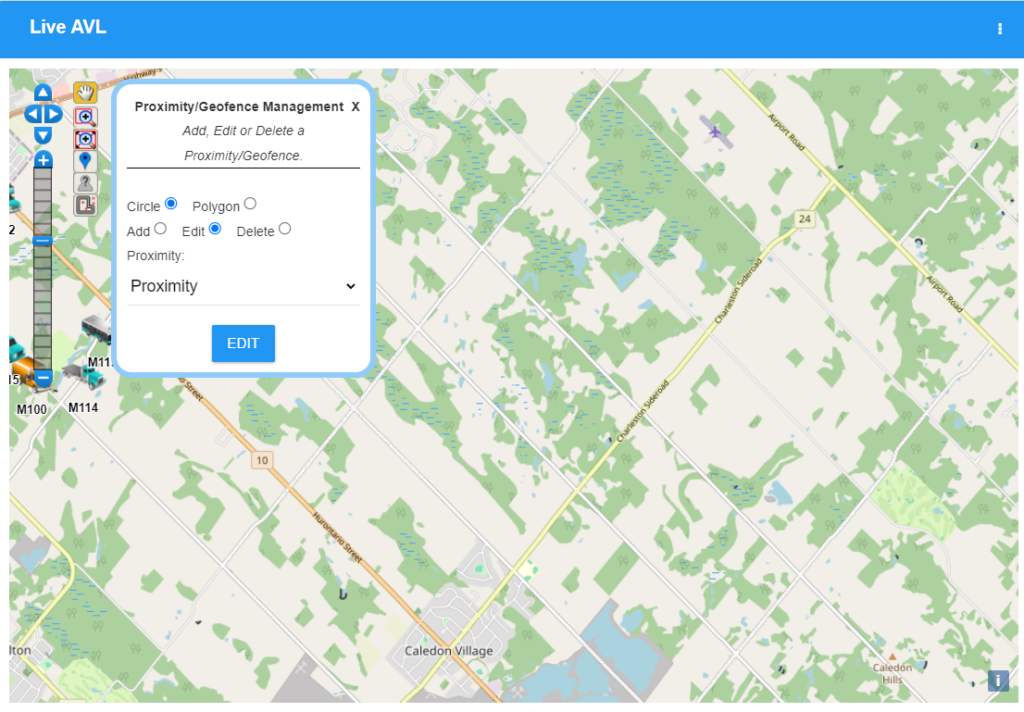
Click the bottom Geofence icon on the left map controls. This will open the Proximity/Geofence Management dialog.
-
The Proximity/Geofence Management dialog provides the following options:
Circle or Polygon: Choose the shape of the geofence you wish to create.
Add: Allows for creating new geofences.Edit: Allows for editing existing geofences.
Delete: Allows for deleting existing geofences.
To create a new circular geofence, choose Circle then Add. Enter a Name for the geofence.

-
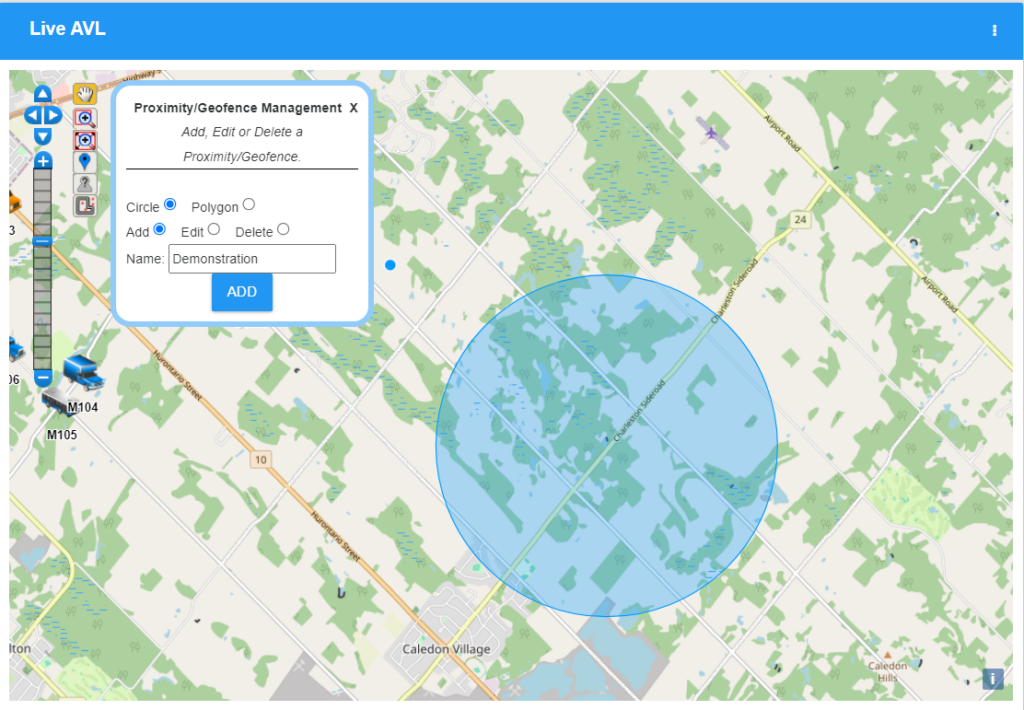
Once you have chosen the type of geofence and entered a name, for a circle geofence click on the map in the centre of where you wish to draw.
-
You will see a circle appear. Move your mouse to the extent of the geofence you wish to create. Click a second time and the circle will stop following your mouse.
-
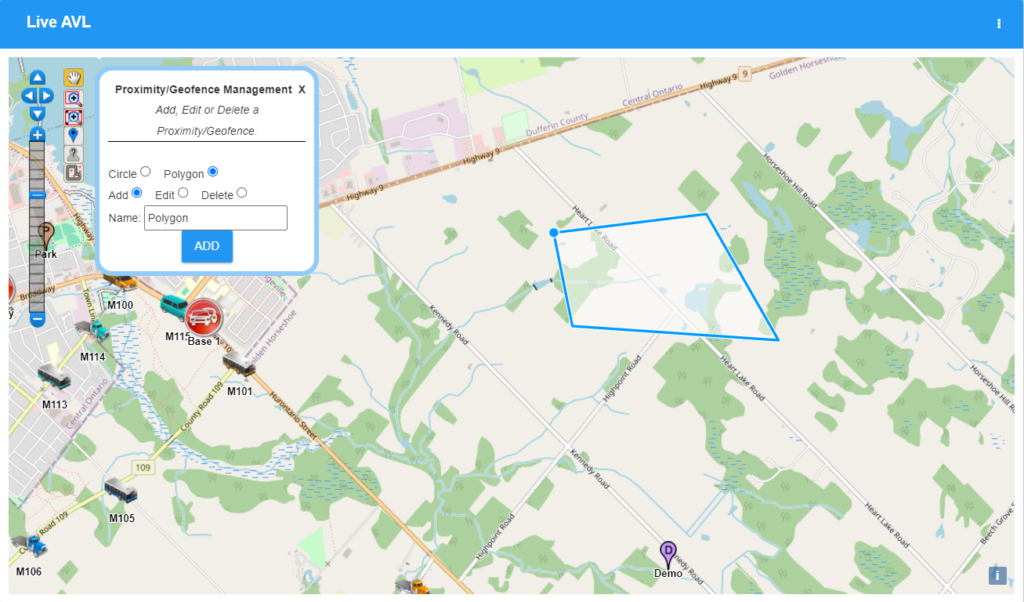
Drawing a polygon geofence requires you to draw by clicking to add points to the polygon. When you move the mouse close to the first point, it will snap to the location, allowing you to close the shape.
-
If you are happy with the location and size of your geofence, click ADD to create the geofence. The geofence will turn from blue to orange.
-
Click the bottom Geofence icon on the left map controls. This will open the Proximity/Geofence Management dialog.
-
Choose the type of geofence you wish to edit, either Circle or Polygon.
Check the Edit option.
-
Choose the geofence you wish to edit from the drop down, then draw the modified geofence.
If you are satisfied with the changes, press the EDIT button to confirm your modification.
Editing a Geofence is also done in the Live AVL view.
-
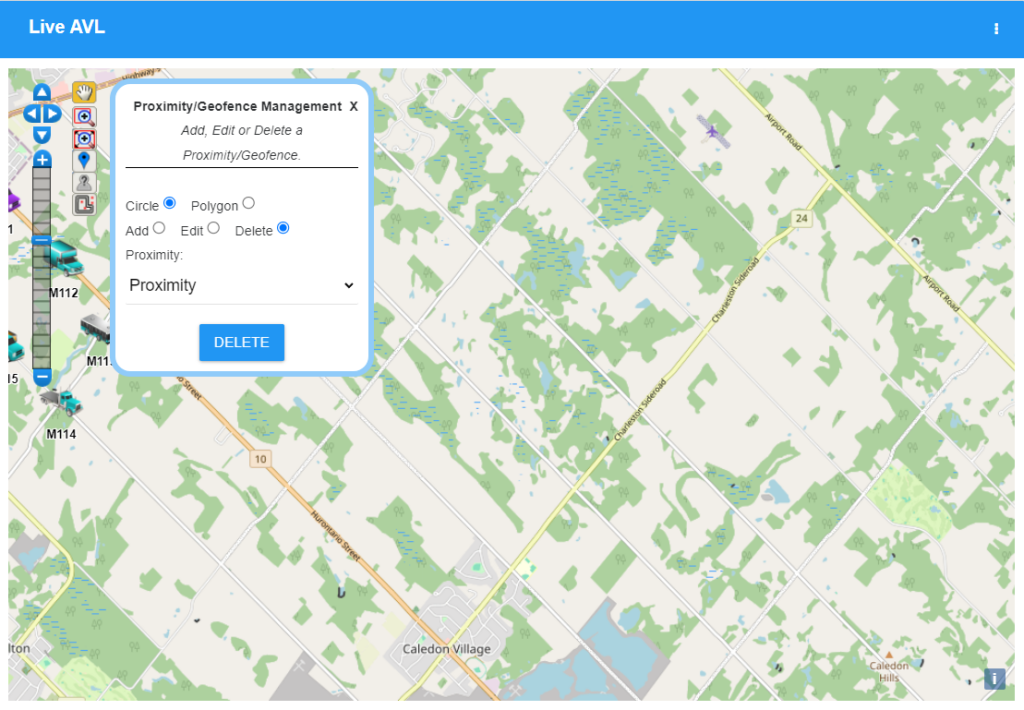
Click the bottom Geofence icon on the left map controls. This will open the Proximity/Geofence Management dialog.
-
Choose the type of geofence you wish to delete, either Circle or Polygon.
Check the Delete option.
-
Choose the geofence you wish to delete from the drop down.
If you are sure you wish to delete the selected geofence, press the DELETE button to confirm.
Deleting a Geofence is also done in the Live AVL view.