
How Can We Help?
Permissions Overview
-
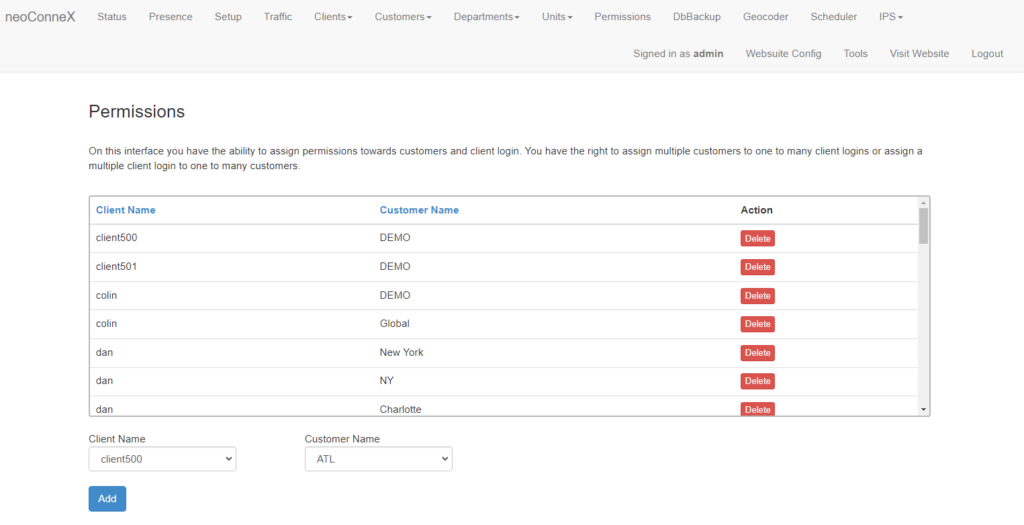
Along the top navigation go to Permissions.
-
The displayed table is all the clients with permissions already granted to them.
-
Below the table is the form that needs to be filled in order to add permissions to a client.
-
To Add permissions to a client, under the Client Name dropdown menu select the client name.
Select the Customer Name to provide access to.
Press Add to grant permission to the selected client. They will now be able to access the tracking information in the web suite for that customer.
-
If you wish to revoke access to a customer from a client, press the Delete button to the right of the client and customer name in the table.