
Step 1 – Hardware Setup
-
By default, the system ships configured for a DHCP IP address. This means it will automatically be assigned an IP address from your router when connected. You can configure this to a static IP later.
If you are unable to determine the dynamic IP address assigned by your router, you can connect a monitor to the Fleet Manager to view the IP address through the terminal. If the IP address is not shown you may need to login using the default username and password (NOTE – this is only used for the command line login):
Username: user
Password: user
Once logged in you can run the following command to get the current IP address:
hostname -IEnter this IP address into a web browser on a PC connected to the same network as your system.
-
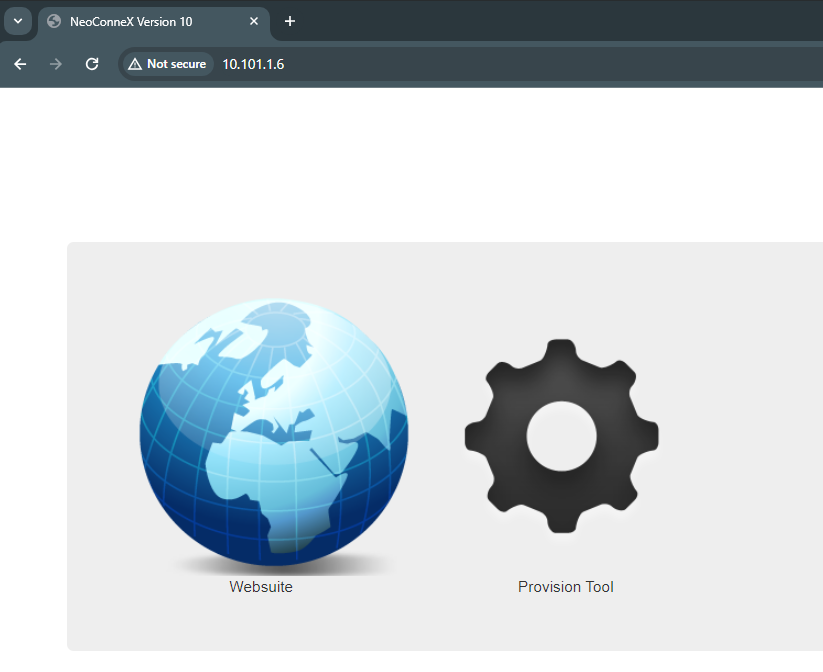
If you have entered the correct IP address, you should see options for Websuite and Provision Tool.
Choose Provision Tool.
When you first receive your Fleet Manager, you will need to connect the power cable (included) and a network cable to the rear of the system. Toggle the switch on the rear to the on position. The system should boot automatically, if not, press the power button on the front of the system.

-
The username to access the provision tool is: admin
-
The default password to access the provision tool is: admin
Press Submit once the username and password is entered. If you have entered the login correctly you should be directed to the provisioning tool.
The admin password can be changed once logged in, under Tools > Administration.
To first access the Provision Tool and configure your system you will need to log in.