
Step 2 – Configuring a Static IP Address
-
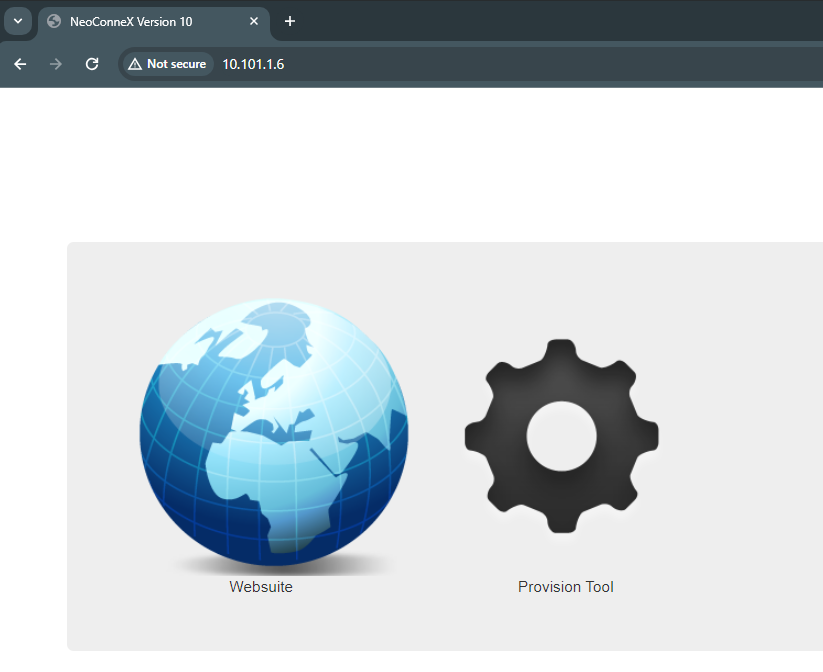
Enter the current IP address into a web browser on a PC connected to the same network as your system.
-
If you have entered the correct IP address, you should see options for Websuite and Provision Tool.
Choose Provision Tool and log in. The default login information is below:
Username: admin
Password: admin
When your system arrives it is configured with a DHCP IP address. This allows for the system to automatically be assigned an address by your router.
Once you have connected to the system for the first time you should set up a Static IP address. This will allow you to maintain consistent access to your system.
-
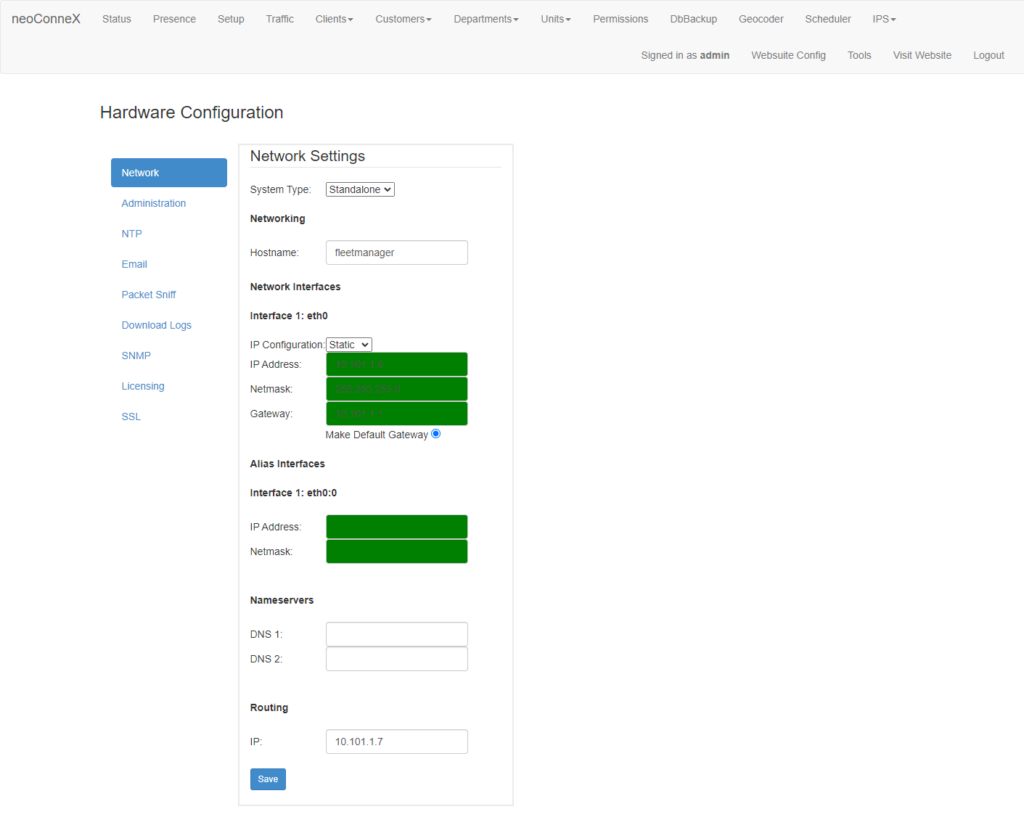
From the top-right, choose Tools
-
From the left navigation menu, select Network
After you have successfully logged in, you will have access to the Provisioning Tool.
-
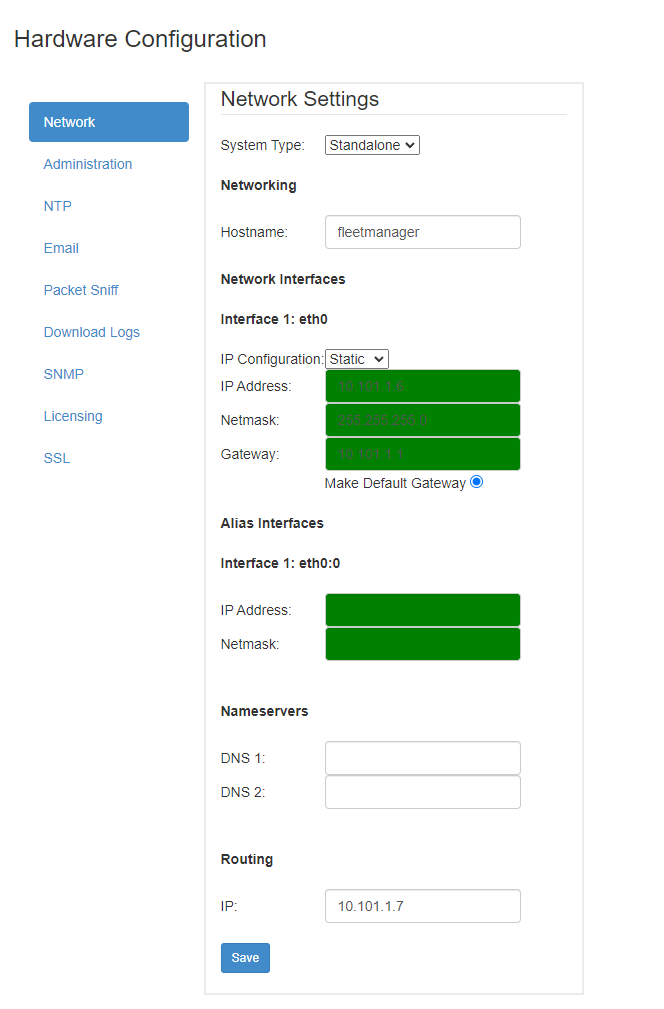
You may enter a hostname now, or leave it as the default. This is the name the system will show as on the network.
-
From the IP Configuration drop-down menu, choose Static.
-
Enter the IP address, Netmask, and Gateway you wish to configure your system with. This varies based on your local network configuration.
-
Optionally, enter Domain Name Servers
-
Routing IP is the IP address of the system running MNIS (MotoTRBO Network Interface Service). This is only required when running a separate MNIS based system to interface with your radio network.
-
Save your changes. The system may require a restart to update the networking information. This can be done through pressing the reset or on/off buttons on the front of the system.