
Tools Overview
-
To access the tools page, along the top navigation go to Tools.
-
The menu on the left of the page provides links to all of the tools available to you.
-
Choose Network from the left menu. This is the default selection when first navigating to the Tools page.
-
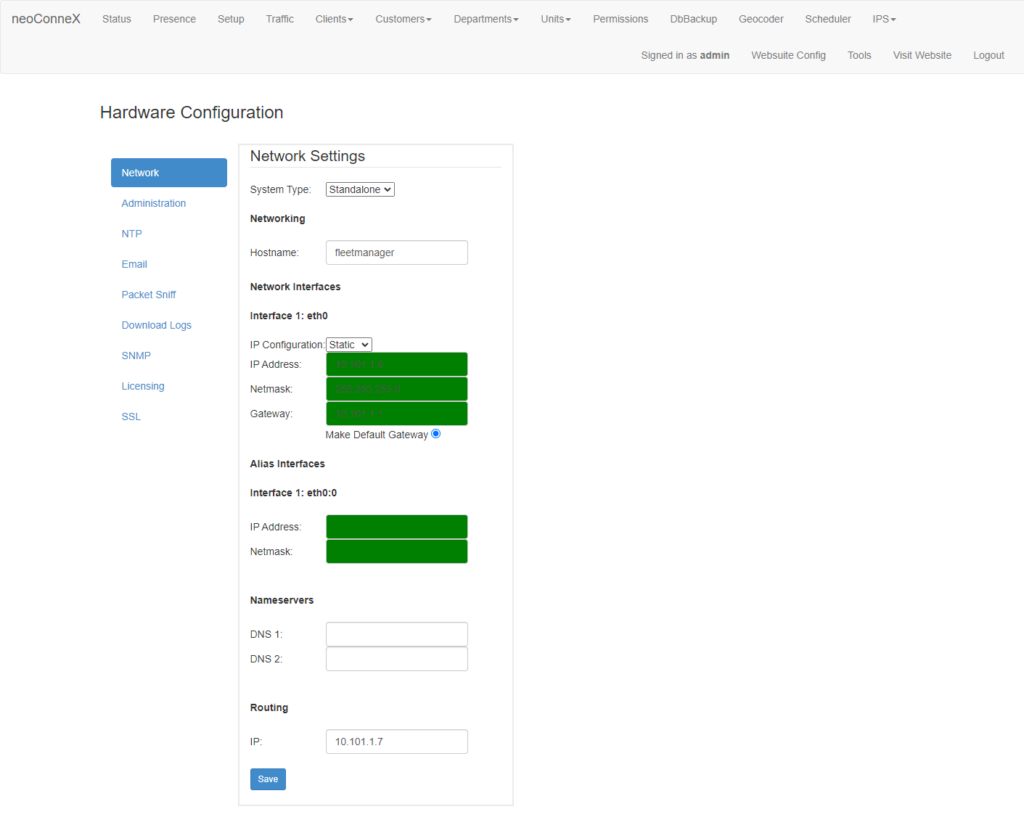
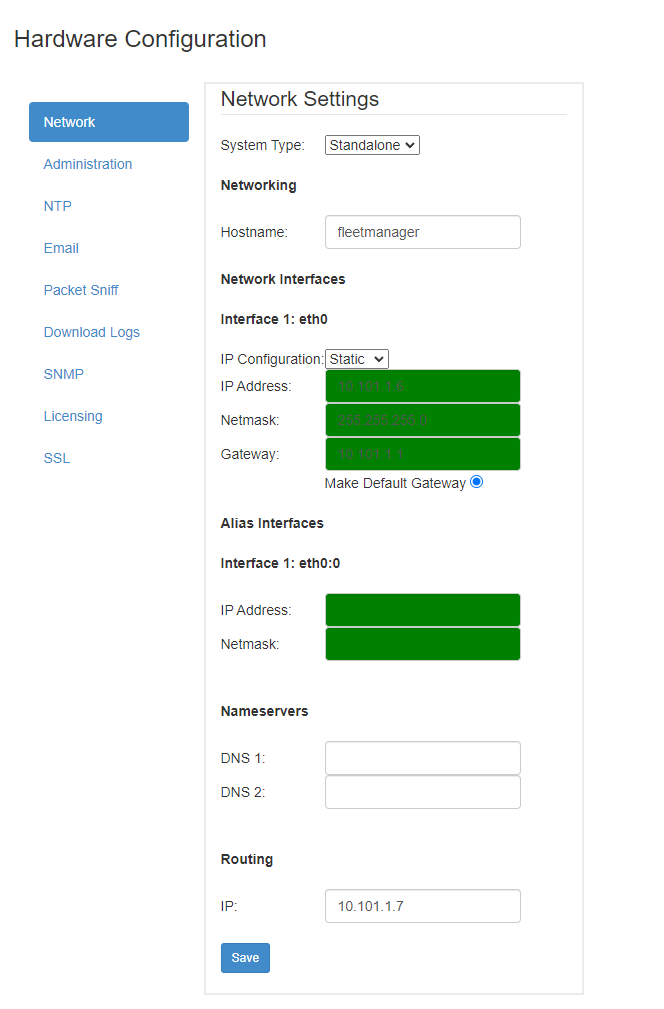
System Type – Used to configure a redundant Fleet Manager. Your primary Fleet Manager should be Standalone, and if you have purchased a secondary redundant system, set the backup system to Backup.
Hostname – This is the hostname of the server. This is the name the server that will be shown on your local network.
-
IP Configuration – Choose from either DHCP IP (Dynamic Host Configuration Protocol) or a static IP address. It is recommended to set a static IP to ensure consistent access to your system.
IP Address – The IPv4 address of the server.
Netmask – The subnet mask of the server.
Gateway – The default gateway IP address.
-
Alias IP Address – Secondary access IP for the Fleet Manager system. This should only be used if you have Connect Plus and MNIS using the same ports. Otherwise leave this blank.
Alias Netmask – The subnet mask for the Alias IP address, only used if the Alias IP address is set.
-
Nameservers DNS – DNS (Domain Name System) servers for DNS resolution when accessing internet-based map providers.
-
Routing IP– The IP address of the system running MNIS (MotoTRBO Network Interface Service).
-
Save – You must save any changes you make to your networking configuration.
A restart of the Fleet Manager may be required for some network changes to take effect.
The network section provides configuration options for the network connectivity of the Fleet Manager.
-
Choose Administration from the left menu.
-
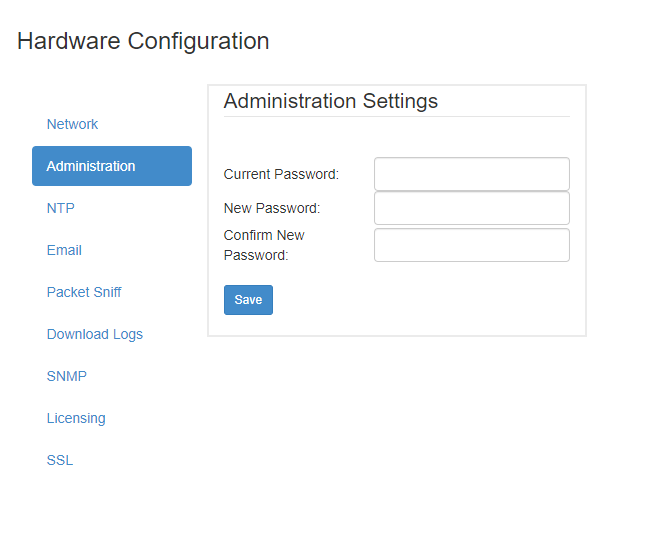
Current Password – Enter the current password used for the admin login of the provisioning tool.
New Password – Enter the new password you wish to change for the admin login.
Confirm New Password – Confirm the new admin password.
-
After modifying the password, Save your changes.
The Administration section provides the option to change the admin password used to access the Provisioning Tool.
-
Choose NTP from the left menu.
-
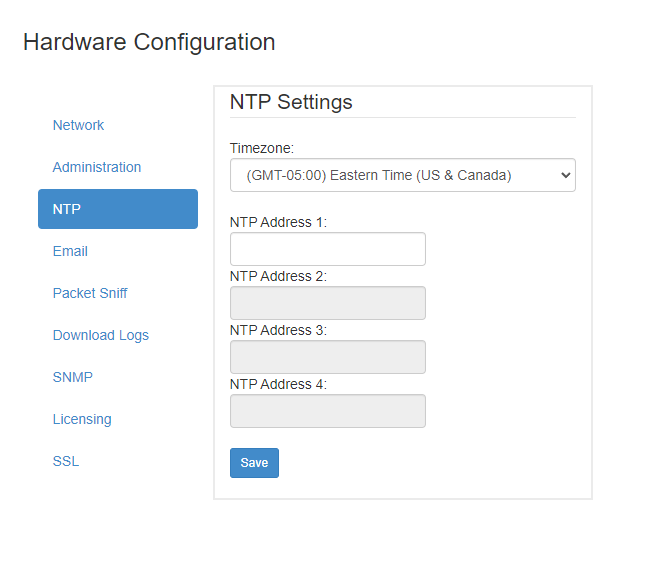
Time Zone – Represents the time zone that the system is operating within. This should be set to your local time zone.
NTP Address – Enter up to 4 NTP server IP addresses to sync with.
-
After modifying the settings, Save your changes.
The NTP (Network Time Protocol) section allows the server to keep a consistent time by periodically checking against other NTP servers.
-
Choose Email from the left menu.
-
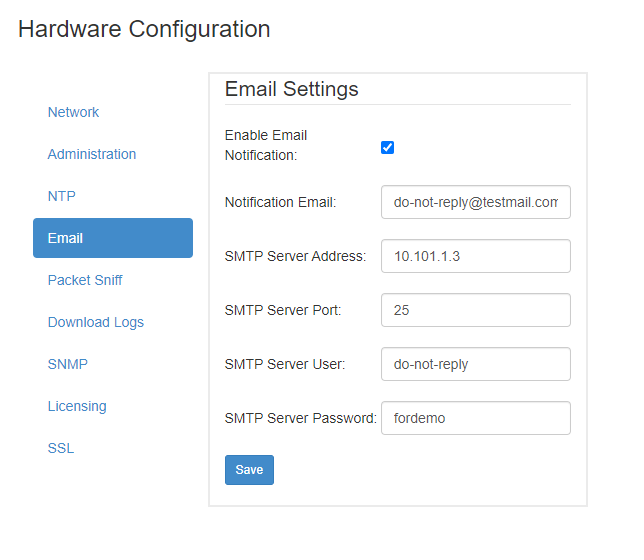
Enable Email Notification – Check this box to enable email notifications.
Notification Email – The email address to send email notifications from.
SMTP Server Address – The IP address of your SMTP server.
SMTP Server Port – The port used for SMTP on your server.
SMTP Server User – The username from your SMTP user login.
SMTP Server Password – The password from your SMTP user login.
-
After modifying the settings, Save your changes.
The Email Settings section allows the server to send email notifications from a specified email address using SMTP (Simple Mail Transfer Protocol).
-
Choose Packet Sniff from the left menu.
-
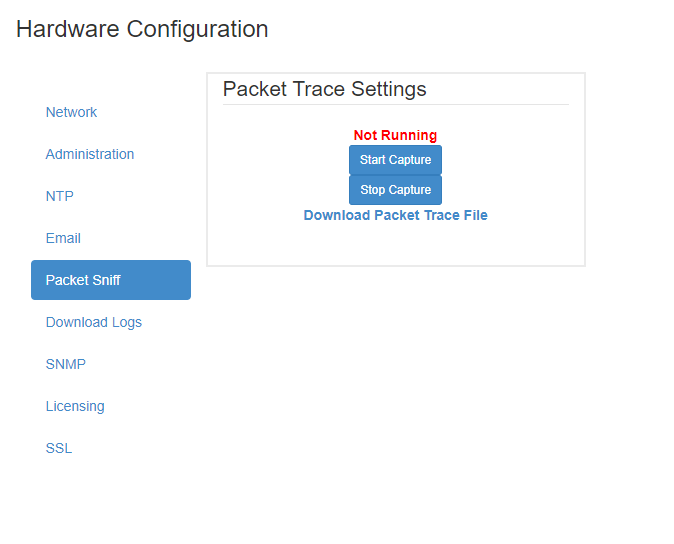
Start Capture – Press Start Capture to begin running a packet capture.
Stop Capture – When finished running a packet capture, press Stop Capture to end the capture and produce a download link for the capture file.
Download Packet Trace File – This link will appear once a capture has been completed. Click to download the file for viewing in Wireshark.
The Packet Sniff section allows the system to perform a Wireshark capture. This captures network traffic to/from the Fleet Manager used for debugging purposes.
-
Choose Download Logs from the left menu.
-
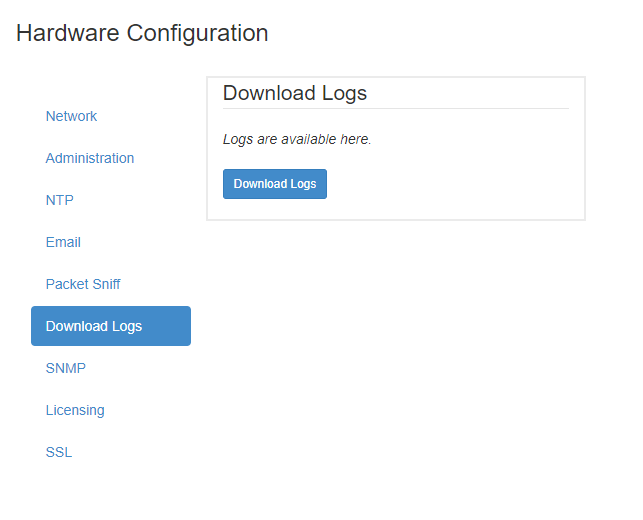
Download Logs – Click this button to download a CSV file containing recent traffic logs. This is the data you see from the Provisioning Tool Traffic page and can assist with troubleshooting radio tracking.
The Download Logs section allows you to download a CSV file containing recent traffic logs.

-
Choose SNMP from the left menu.
-
Enable – Check to enable sending SNMP alerts.
Server Address – The address of the SNMP manager.
-
After making any changes, press Save.
SNMP (Simple Network Management Protocol) Settings allows for sending SNMP alerts to the SNMP manager.
-
Choose Licensing from the left menu.
-
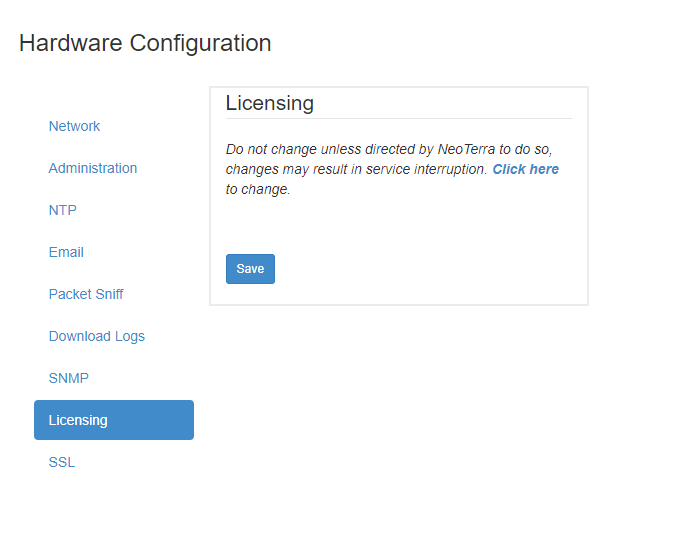
Click the link to show a text box. Replace the placeholder text with the license key provided by Neoterra.
-
After making any changes, press Save. Your license should be updated immediately.
Licensing allows you to change the license for the Fleet Manager. Only modify this if instructed by Neoterra.
-
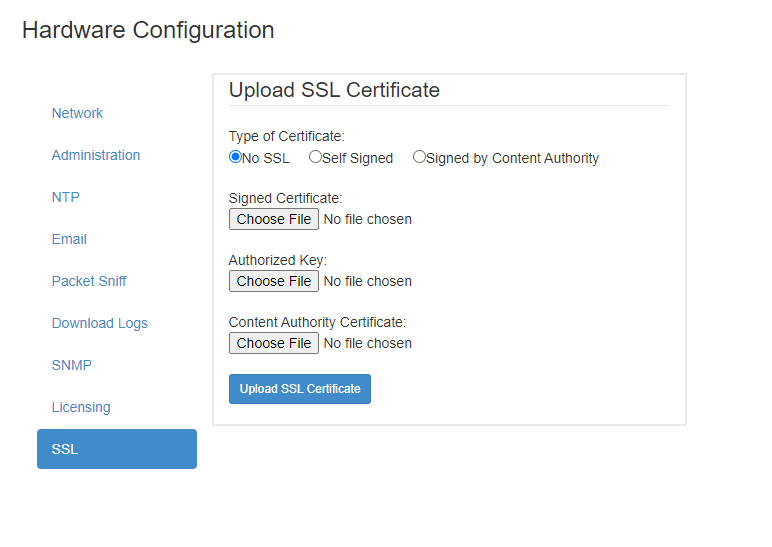
Choose SSL from the left menu.
-
Choose the type of SSL certificate you are using.
No SSL – Default. No SSL certificate, the web suite is accessed over HTTP.
Self Signed – SSL certificate not signed by a publicly trusted certificate authority (CA). This is typically used when you generate your own certificate. You may see a browser warning when visiting the web suite with this type of certificate indicating that it is self-signed.
Signed by Content Authority – Choose this option when using an SSL certificate that is signed by a publicly trusted certificate authority. This is typically provided by your hosting provider where you get your domain from (if a domain is being used).
-
Choose and upload the files for your SSL certificate.
Signed Certificate – Certificate file.
Authorized Key – The key provided with the certificate.
Content Authority Certificate – Only required when using a certificate that has been Signed by a Content Authority. This is the certificate provided by the Content Authority verifying the validity of the certificate.
-
After making any changes, press Upload SSL Certificate. You may need to restart the Fleet manager for your changes to take effect.
Uploading an SSL certificate enables a secure HTTPS connection to be used for accessing the Websuite.